IISでのサーバ証明書の移動方法(エクスポート)
ワイルドカードサーバ証明書をCSR作成したサーバー以外のサーバーにインストールする場合は、以下の pfx 形式の証明書エクスポートを行います。
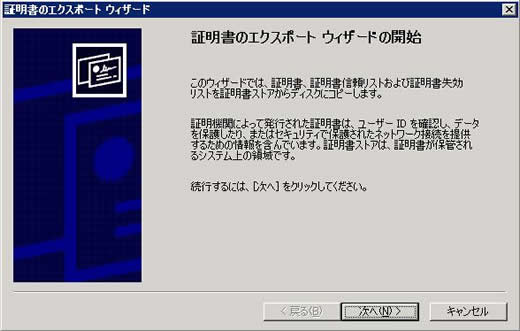
以下の手順で、プライベートキー、サーバ証明書、中間サーバー証明書を含んだ pfx 形式の証明書をエクスポートしてください。
サーバ証明書のエクスポート
-
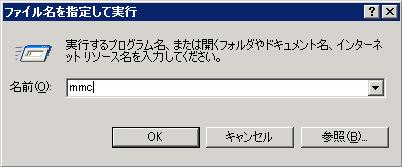
「ファイル名を指定して実行」からmmcを起動します。
-
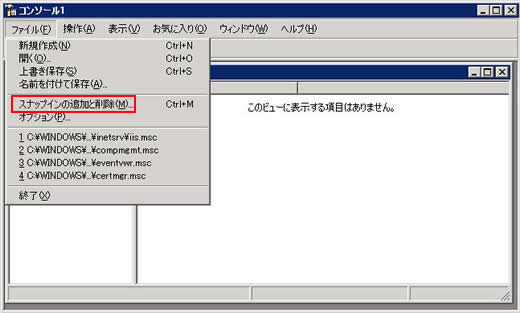
「ファイル」メニューから「スナップインの追加と削除」を選択します。
-
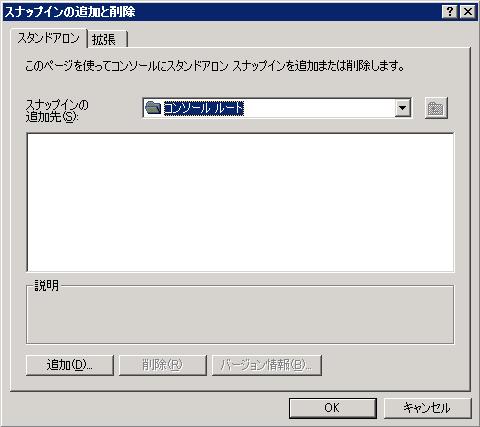
「スナップインの追加と削除」から「追加」ボタンをクリックします。
-
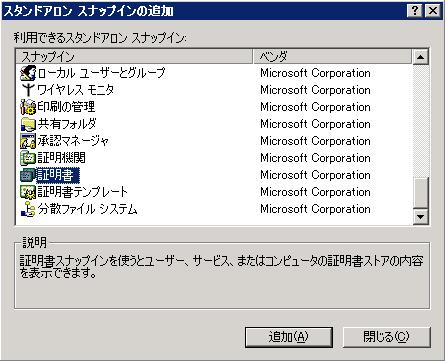
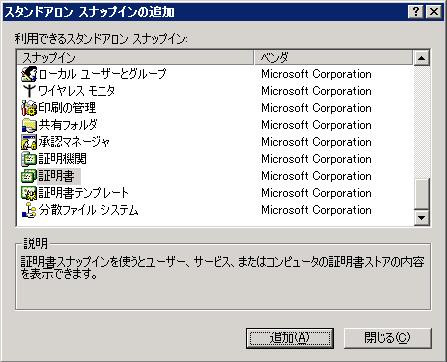
「証明書」を選択し、「追加」ボタンをクリックします。
-
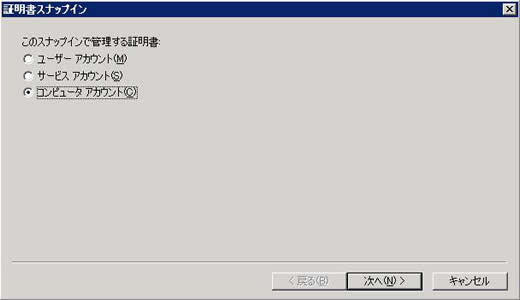
「コンピュータ アカウント」を選択し、「次へ」ボタンをクリックします。
-
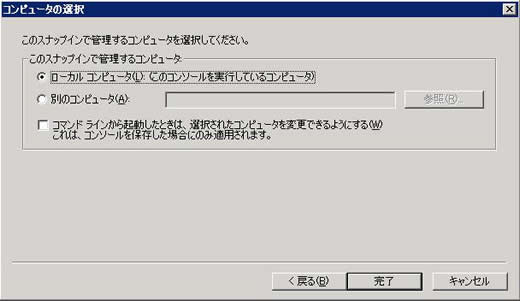
「ローカルコンピュータ」を選択し、「完了」ボタンをクリックします。
-
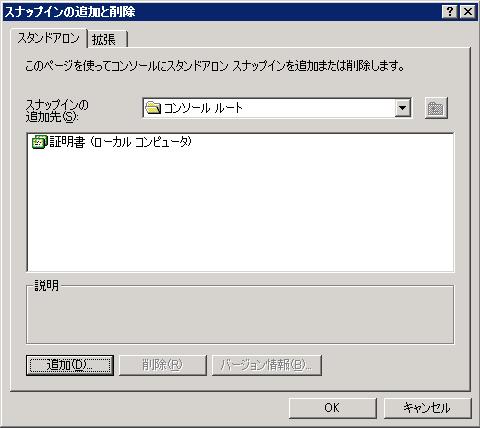
「閉じる」ボタンをクリックします。
-
「OK」ボタンをクリックします。
-
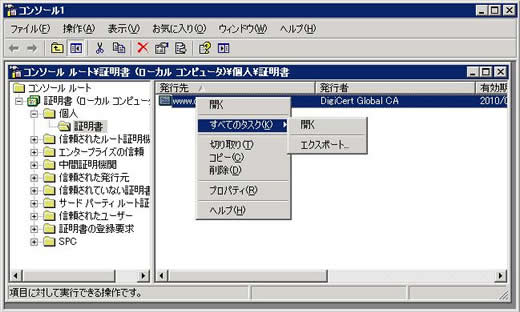
[個人] ストアで、バックアップする証明書をクリックします。
-
「次へ」ボタンをクリックします。
-
「はい、秘密キーをエクスポートします」を選択し、「次へ」ボタンをクリックします。

-
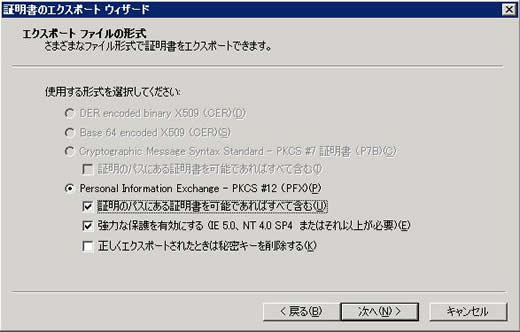
下図のとおりにチェックをし、「次へ」ボタンをクリックします。
-
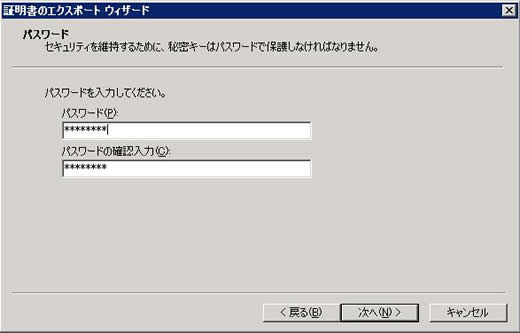
秘密キーのパスワードを入力し、「次へ」ボタンをクリックします。
-
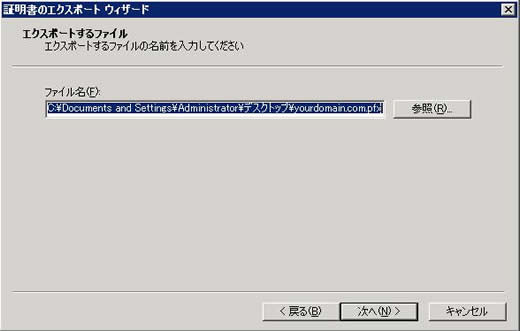
エクスポートファイル名を入力し、「次へ」ボタンをクリックします。
-
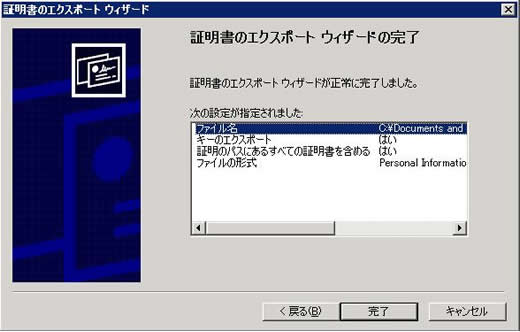
「完了」ボタンをクリックします。
-
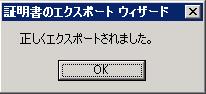
正常にエクスポートが完了すると、以下のポップアップが表示されます。
pfx 形式の証明書インポート